

Developing a chatbot system to reduce workload in e-learning systems
_______________________________________________________________________
Table of Content:
Section-1 : Problem Statement
Section 2: Model training and Validation
2.1 Dataset
2.2 Prerequisite Packages and Tools
2.3 Import Dataset
2.4 Preprocessing
Section 3: Model Deployment
3.1 Deployment on Microsoft Azure
3.2 Deployment on Local Server
Section-1 : Problem Statement
The coronavirus pandemic has significantly boosted the popularity of E-learning, with nearly all educational organizations worldwide adopting virtual education systems. Chatbots in learning systems serve several purposes: they can answer student inquiries, direct queries to the right department, provide quick and relevant information, and reduce the instructor's workload by handling irrelevant student questions.
However, E-learning, as a modern technological approach, faces several challenges that need addressing:
- Swift emergency responses
- Reduced instructor workload
- Resolution of student complaints and issues

Section-2: Model training and Validation (GitHub: Link 1: Link 2)
Chatbots are increasingly used in various applications to provide intelligent support to users by interpreting their questions and delivering accurate answers quickly and efficiently. This research project aims to enhance chatbot performance through several key steps. Initially, we will preprocess a frequent dataset from Virtual University, ensuring the data is clean and ready for analysis. Subsequently, we will train multiple machine learning models on this refined data. For more details, you can find additional information here
2.1 Datasets (GitHub link)(Google Drive Link)
In this project, the dataset includes frequently asked questions by students from the Virtual University of Pakistan. The questions cover various topics such as exams, results, admissions, and different subjects. This comprehensive dataset will be used to develop and train chatbot models to provide accurate and efficient responses to these common queries.
2.2 Prerequisite Packages and Tools
To develop the machine learning models, you must install the required packages listed below. Each package serves a specific purpose in the development process. It is recommended to install the latest versions using conda or pip. The following Python tools were used in building the models that predict positive cases:
import json
| # JSON manipulation |
import numpy as np | # Matrices manipulation |
import tensorflow as tf
 # import tensorflow packages

from tensorflow import keras
from tensorflow.keras.models import Sequential
from tensorflow.keras.layers import Dense, Embedding, GlobalAveragePooling1D
from tensorflow.keras.preprocessing.text import Tokenizer
from tensorflow.keras.preprocessing.sequence import pad_sequences
from sklearn.preprocessing import LabelEncoder
 Python
Python is a powerhouse in the world of Data Science and Machine Learning embraced by experts globally. Renowned for its simplicity and readability, Python offers a treasure trove of ML libraries, making it an ideal choice for rapidly developing and prototyping advanced ML models.
 Scikit-learn
Scikit-learn (sk-learn) is an open-source Python library that provides a wide range of machine learning algorithms for both supervised and unsupervised tasks. Originating from a Google Summer of Code project, scikit-learn has evolved into the de facto standard for many machine learning applications. It has garnered a vast community of over 1,000 contributors who continually enhance its capabilities. etc.
 Pycaret
Pycaret is an open-source library of Machine learning, which automates the entire process of training machine learning models. it automatically chooses the best model for your dataset. Pycaret is an open-source, low-code machine learning library in Python to train and deploy machine learning pipelines and models in production. Pycaret can be installed easily using pip. etc.
 Google Colab
Google Colab, or Colab for short, is a free, cloud-based platform that allows users to run and share Jupyter notebooks. It is designed to facilitate easy collaboration and streamline the process of working with large datasets, building, and training machine learning models.
Colab provides a seamless environment where users can write and execute Python code, access powerful computing resources, and integrate with popular libraries like TensorFlow, Keras, and scikit-learn. This platform is particularly beneficial for data scientists, researchers, and educators, as it eliminates the need for complex local setups and offers free access to GPUs and TPUs, significantly speeding up computational tasks.
Packages:
Pandas
Pandas is a powerful Python library for data manipulation and analysis, offering data structures like Series and DataFrame for handling structured data efficiently. It's widely used in data science for tasks such as data cleaning, transformation, and visualization.
Numpy (Numerical Python)
NumPy is a fundamental Python library for numerical computing, providing support for large, multi-dimensional arrays and matrices, along with a wide array of mathematical functions to operate on them efficiently. It is essential for scientific computing and serves as the foundation for many other data science libraries.
Plotnine and matplotlib —
Plotnine is a Python library for creating complex and aesthetically pleasing statistical graphics using a grammar of graphics similar to ggplot2 in R. Matplotlib is a versatile plotting library for Python, enabling the creation of static, animated, and interactive visualizations in a variety of styles and formats.
Sequential model:
The Sequential model API is a way of creating deep learning models. A Sequential model is appropriate for a plain stack of layers where each layer has exactly one input tensor and one output tensor. The sequential model allows us to specify a neural network, precisely, sequential: from input to output, passing through a series of neural layers, one after the other.
Embedding Layer:
Keras offers an Embedding layer that can be used for neural networks on text data. It requires that the input data be integer encoded so that each word is represented by a unique integer. This data preparation step can be performed using the Tokenizer API also provided with Keras. The Embedding layer is initialized with random weights and will learn an embedding for all of the words in the training dataset [6].
It must specify 3 arguments:
-
input_dim: This is the size of the vocabulary in the text data. For example, if your data is integer encoded to values between 0-10, then the size of the vocabulary would be 11 words.
-
output_dim: This is the size of the vector space in which words will be embedded. It defines the size of the output vectors from this layer for each word. For example, it could be 32 or 100 or even larger. Test different values for your problem.
-
input_length: This is the length of input sequences, as you would define for any input layer of a Keras model. For example, if all of your input documents are comprised of 1000 words, this would be 100
Dense Layer:-
In any neural network, a dense layer is a layer that is deeply connected with its preceding layer which means the neurons of the layer are connected to every neuron of its preceding layer. This layer is the most commonly used layer in artificial neural network networks [7].
Keras:-
Keras is an open-source high-level Neural Network library, which is written in Python is capable enough to run on Theano, TensorFlow, or CNTK. It was developed by one of the Google engineers, Francois Chollet.
TensorFlow:-
TensorFlow is a Python library for fast numerical computing created and released by Google.It is a foundation library that can be used to create Deep Learning models directly or by using wrapper libraries that simplify the process built on top of TensorFlow.
requirements.txt — it stores the information about the packages and their version for running the syntaxes in this tutorial (some errors might be caused by the incompatibility of package versions).
JSON:-
JSON is basically a format used to store or represent data. Its common use cases include web development and configuration files.
2.3 Import data sets
After importing the necessary packages, the first task to do must be to import the data sets both training and testing set for further preprocessing and analysis. First we mount file from google drive to google colab
from google.colab
 import drive drive.mount('/content/drive')
with open('/content/drive/MyDrive/Research /Research Proposal /Dataset/intents.json') as file: data = json.load(file)

2.4 Data preprocessing
In real-world problems, it is often that the data set we have is messy, unstructured and unstandardized so make the analysis becomes difficult to do.
Section-3 :Model Deployment
Deploying ML models from an experimental environment to production may have a much lower scissure rate than we thought along with data quality several factors can keep models away from performing in the production.
Scalability- Make sure ML Models can handle larger volumes of data and user traffic in the production since the experiment environment is usually based on small-scale datasets.
Security and compliance: ML models often process sensitive data. These requirements must be taken into account during the transition to the production environment.
Integration with existing system: models must be integrated with the existing system and workflows in the production environment which can be complex and time-consuming if it is not considered beforehand.
In this project first, we developed a web app using Flask and Python which shows below diagram and then deployed it on azure.
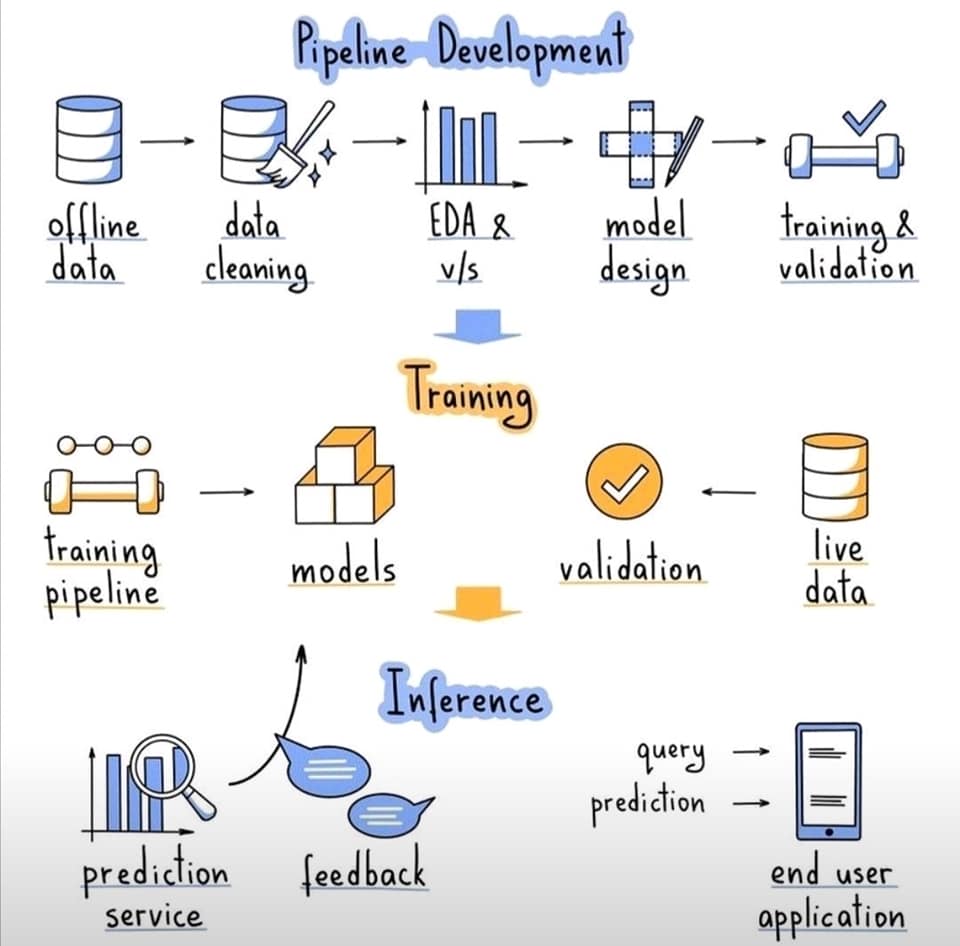
Building the Web App (Github Link, link 2)
To build the We app first trained the model and then save a high-accuracy model then we build a web app using flask and python and their cod is stored on GitHub. we used the following tool to develop web app
VScode 
Flask 
3.1 Deployment on Microsoft Azure(Web link: https://vuchatbot.azurewebsites.net/ )
After building web-app we deployed web on Microsoft azure cloud and their detail are shown below

Steps:
Step 1: GitHub
First, we make a requirement file using the following command in VS code then we upload the whole app code to the GitHub repository
Command
pip freeze > requirements.txt
Steps 2: How to Deploy Python Web App on Azure
-
Create an Azure account: If you don't already have one, create an Azure account at https://azure.microsoft.com/. You'll need to provide some personal information and a credit card to sign up.
-
Create a new web app by navigating to "Create a resource"

3- Then search "Web App" and click on create Web App. Fill in the required information, including the name of your app, resource group, subscription, and hosting plan.

4- If you don’t have any resource group you can create a new by clicking on create new and write name for your resource group and click on ok.

5- Choose the appropriate runtime stack (in this case, Python) and operating system (Windows or Linux) and click on Review + Create.

6- After creating your web app,this page will show then click on Go to resources.

7- Click on deployment center and select source from where you want to deploy you web app. Like Git hub.

8- After selecting source connect your git hub account and select the repository and branch from where you want to deploy. After selecting repository and branch click on save button.

9- After clicking on save it will take sometime to deploy web app and its status will be shown in progress. Depending on you network speed and repository it’ll take about 20 to 30 minutes.

Section 8- Deployment to Local Server
Using following steps to deploy the built App to other local PC
Steps 1- Dataset:
Download the following Data set from following links
Dataset 1 (FAQ)
Dataset 2 (Latest Intent file)
Steps 2 Download Required Tools:
and then install VSCode and then final configure Python using this Tutorial
Python 3.9.0 : Download required version of Python from
https://www.python.org/downloads/release/python-390
for Google drive (Link) or GitHub link
Steps 3- install Required Package Installation:
In order to run the code, the required version of packages mentioned in requirement.txt file must be install in VSCode prompt before run code in VS Code.
Note: Please do not install these package in PC prompt othwise it give your error

1. Open Command Prompt.
2. Navigate to folder containing requirements.txt file

3. Install packages of requirements.txt using following command. pip install -r requirements. txt.